Learning about Your Sewing Machine
4:34 PM |
| From Tilly and the Buttons |
lesson 1: welcome and intro first,
lesson 2: Guide to Buying a Sewing Machine.
lesson 3: Sewing Machine Supplies
All machines are a little different, but the basic parts are the same just positioned in different ways. I labelled a picture of my machine using the same terms used in Tilly and the buttons picture (above) to show the parts that are located in different spots in different machines so you can compare it and get an ideal of how machines can very in their positioning. The parts that are positioned the same on every machine are the needle, presser foot, and hand wheel. What do you see that is different? Where are these parts located on your machine?
 | ||
| This is my sewing machine. I labelled only the parts that vary in position in each machine. |
 |
| image source |
1. Spool pin: Holds a spool of thread.
2. Bobbin winder spindle: Bobbin is placed here during winding.
3. Bobbin winder stopper: Stops winding the bobbin when it reaches capacity.
4. Stitch width dial: Controls the width your stitch. It is used to create a zigzag
stitch.
5. Pattern selector dial: Turn the pattern selector dial to set the symbol of the
desired stitch pattern. On computerized machines, stitches are usually
selected on a menu screen.
6. Handwheel: The large knob on the right side of your machine. Manually
raises and lowers the needle.
7. Stitch length dial: Controls the length of the stitch. Shorter stitches for finer
fabrics, longer for heavier fabrics, basting and gathering.
8. Reverse stitch lever: The machine will sew in reverse while the lever is
pushed. Depending on your machine model, this may be a button.
9. Power switch: The off-on switch is usually located on the right side of the
machine, beneath the handwheel.
10. Bobbin winder thread guide: A thread guide used when a bobbin is being
wound.
11. Thread tension dial: Controls the tension on the top thread. If too tight, the
bobbin thread appears on the right side of the fabric. If set too loose, the
needle thread loops on the underside of the fabric.
12. Thread take-up lever: The top thread passes through the thread take-up
lever. It moves up and down with the needle.
13. Needle clamp screw: This clamp holds the needle in place.
14. Presser foot: When lowered using a lever on the back side of the machine,
this foot holds fabric in place.
15. Bobbin cover: Covers and protects the bobbin holder while sewing.
16. Bobbin cover release button: Releases the cover for access to the bobbin.
17. Feed dog: The feed dog pulls fabric forward while sewing.
18. Needle: A needle pushes the thread through the fabric to form a stitch.
19. Needle plate: A metal plate beneath the needle and presser foot. It has an
opening for the needle to pass through as it stitches, and another for the feed
dogs to emerge and help move the fabric forward during sewing. Also called
a throat plate.
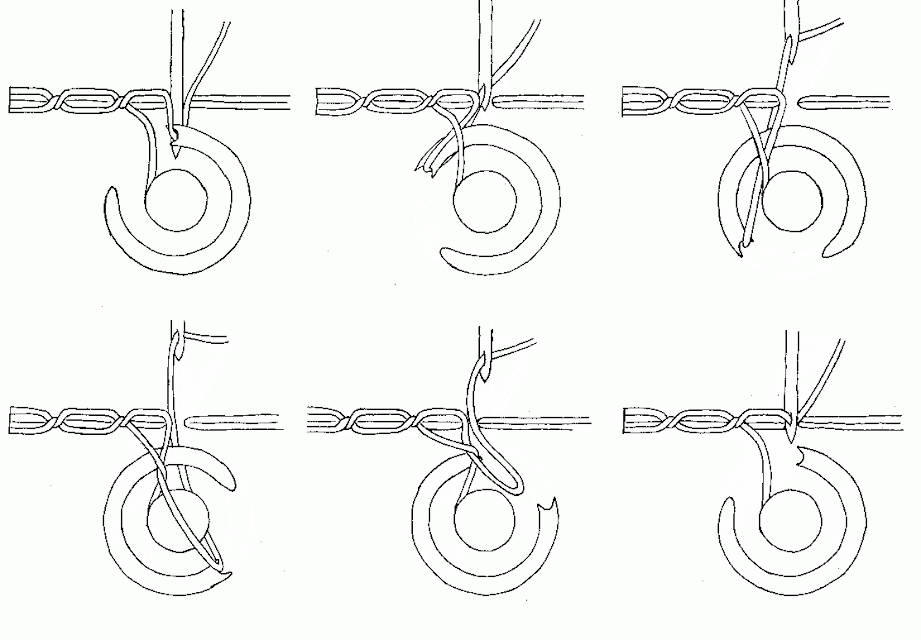
Here is a cool animation that shows how your sewing machine works that might help.
 |
| image via world technology |
Ok so now you know all the parts, but how do you change your needle or presser foot, or where do you plug in your foot petal? Let Tilly and the Buttons show you how. You might also want to check out Sewing.org's pdf about sewing machines parts you can download here. Or you can watch Nina Taylor in the video below walk you through the parts on her machine. I think it helps to see it "live" and not just in pictures. These are videos in a series (part 2 and 3)
part 2 getting to know your machine
part 3 getting to know your machine
Homework
Now that you are familiar with the sewing machine parts get to know your machine.
- Read your sewing machines manual. This is a great place to start learning more about your machine beyond this lesson. Don't have a manual? No problem, just try finding it online or contact the manufacturer of your sewing machine.
- Find all 19 machine parts listed above on your sewing machine
Prior Lessons
lesson 1: welcome and intro first,
lesson 2: Guide to Buying a Sewing Machine.
lesson 3: Sewing Machine Supplies
Next Lessons:
lesson 6: How to Sew Straight, Curved, and Corners
lesson 7: How to Sew a Basic Seam
lesson 8: Trouble Shooting your Machine
lesson 9: Basic Sewing Terms
lesson 10: How to Fix Tension on Your Sewing Machine
Lesson 11: How to Read a Sewing Pattern Envelope
http://ohyoucraftygal.blogspot.com ©Oh You Crafty Gal All rights reserved.


0 comments